Kitchen Islands That Work: Why Size Isn't Everything in Boston Homes
The most requested kitchen feature often becomes the biggest source of daily frustration—here’s how to get your island right.
Introduction
At Golden Hammer Remodeling, kitchen islands are by far the most requested feature in our Boston-area renovations. From the compact condos of South Boston to the spacious colonials of Newton, homeowners consistently ask for islands that maximize both storage and seating. However, after completing hundreds of kitchen renovations throughout the Boston metro area, we’ve observed a clear pattern: the most successful islands aren’t necessarily the largest ones. In fact, oversized islands often create more problems than they solve, particularly in the historic homes that define much of our local housing stock. The key to a functional island lies not in maximizing square footage, but in understanding how your family actually uses the kitchen and designing accordingly. This guide explores the practical considerations that determine whether an island enhances or hinders your daily kitchen experience, with specific insights drawn from our extensive work in Boston’s diverse neighborhoods.
1. The Traffic Flow Challenge: Navigating Boston’s Kitchen Layouts
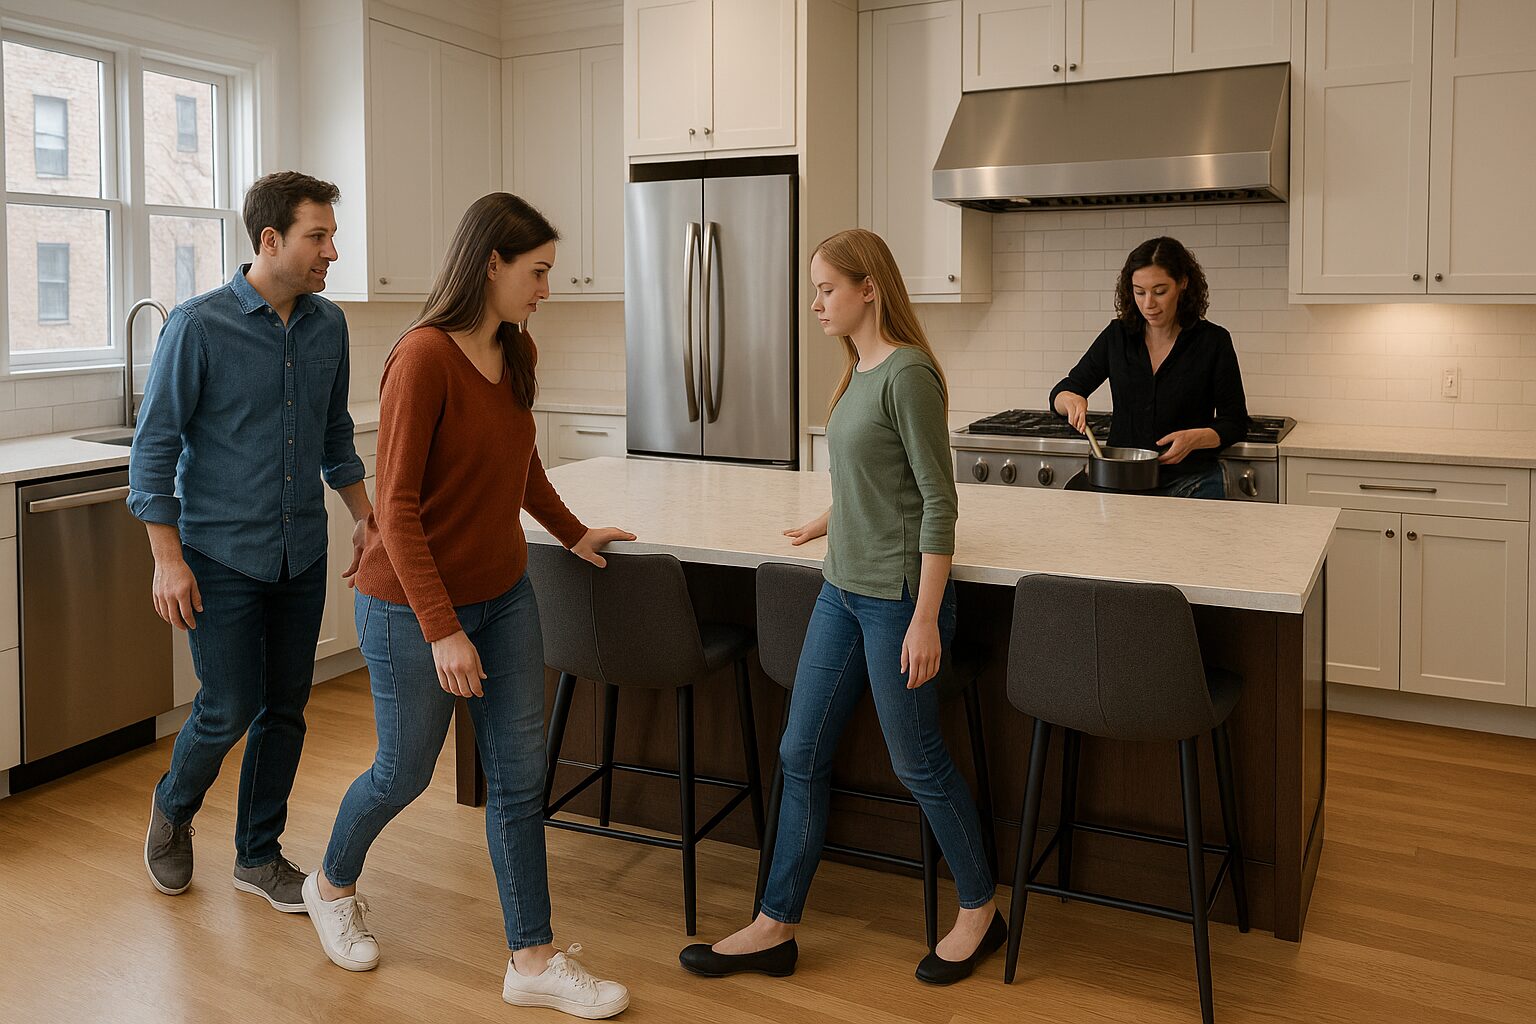
The primary issue with oversized islands stems from traffic flow disruption, a problem that’s particularly acute in Boston’s historic homes where kitchens were originally designed as separate, compact workspaces. When we retrofit these spaces with large islands, we often create bottlenecks that make simple tasks unnecessarily complicated.
The National Kitchen and Bath Association recommends a minimum of 42 inches of clearance around islands, but in our experience working with Boston homes, 48 inches provides much more comfortable navigation. This becomes especially important when multiple people are using the kitchen simultaneously. We’ve found that islands longer than 8 feet in kitchens smaller than 200 square feet consistently create circulation problems, forcing family members to walk around the island to reach basic amenities like the refrigerator or sink.
In a recent Newton project, we initially designed a 10-foot island for a family of four. During the planning phase, we conducted a “traffic simulation” where the family walked through their typical morning routine using cardboard mockups. The exercise revealed that the proposed island would force them to take circuitous routes to complete basic tasks like making coffee while someone else prepared breakfast. We redesigned with a 7-foot island that provided the same storage and seating while maintaining clear pathways throughout the kitchen.
2. The Seating Dilemma: Balancing Social Connection and Functionality
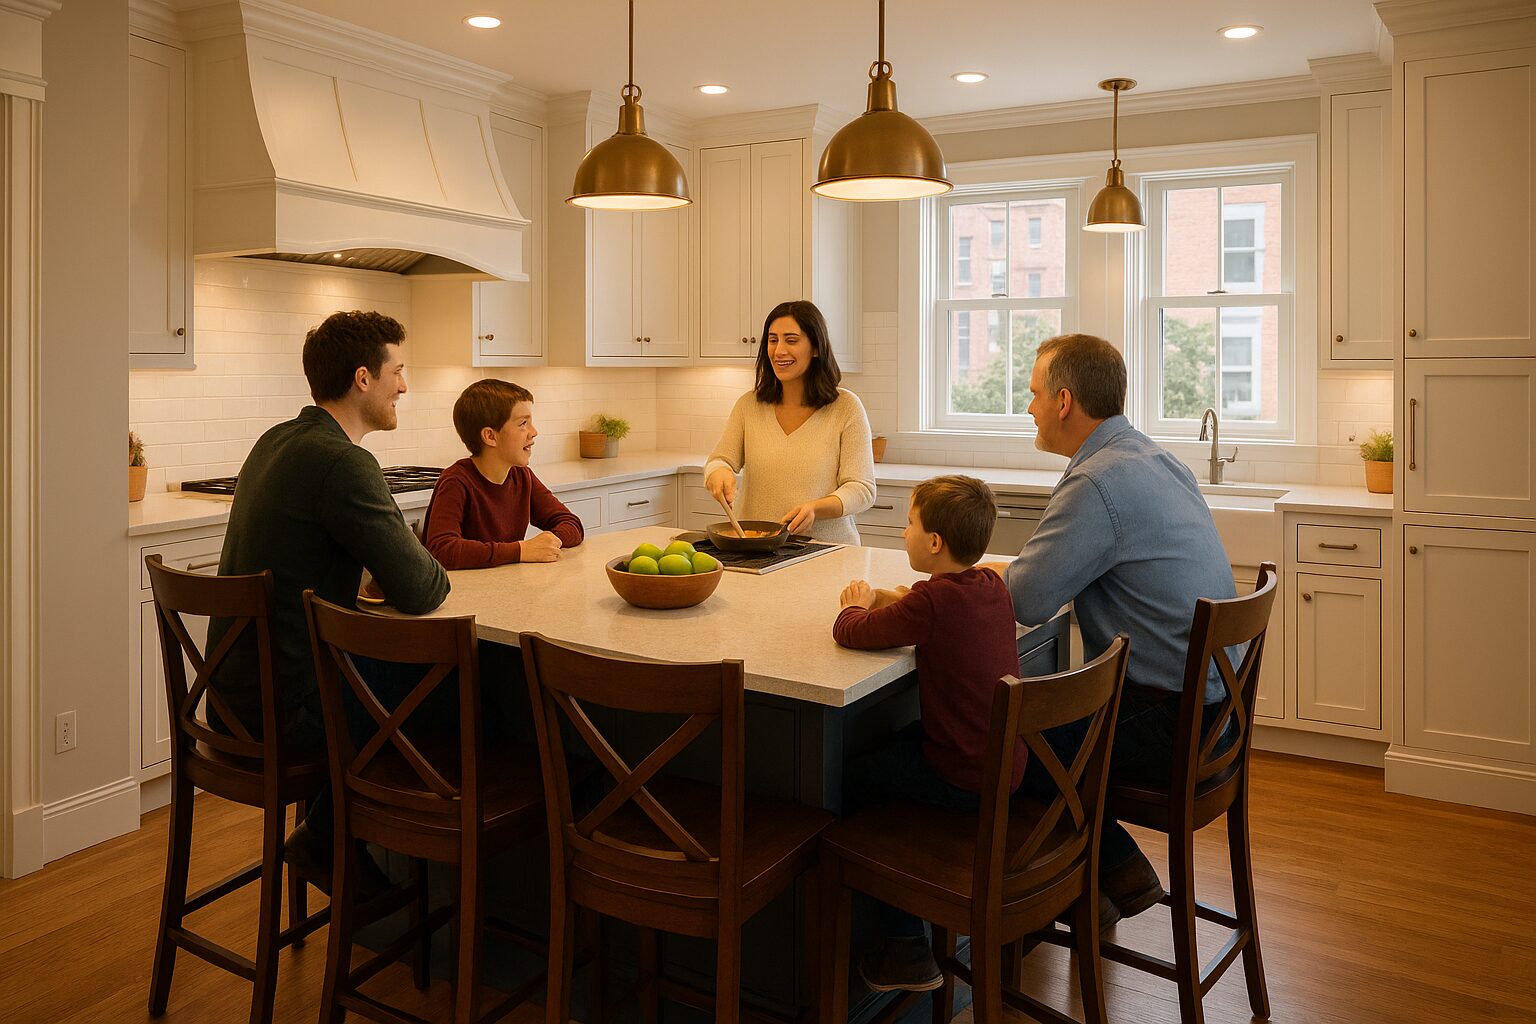
One of the most common requests we receive is for island seating that accommodates the entire family. While this sounds ideal in theory, the reality is more complex. Islands with seating for more than four people often create what we call “the restaurant effect”—the cook becomes a server, working behind a counter while family members sit in a row facing away from the kitchen’s primary work areas.
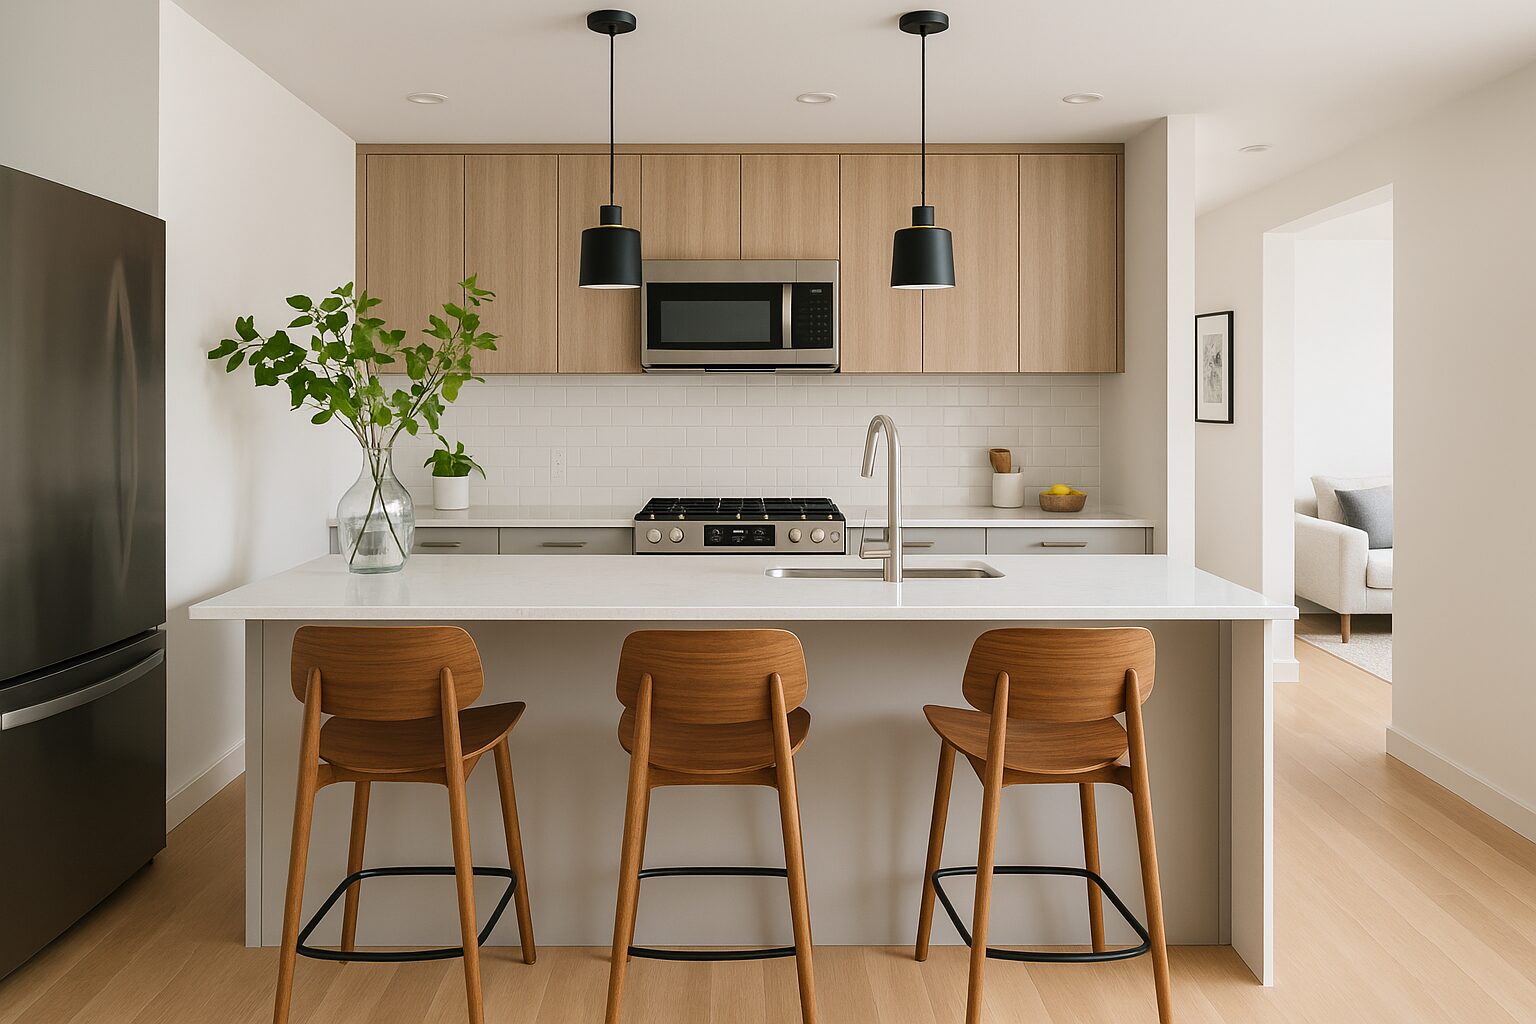
Our most successful island designs incorporate what we term “conversational seating”—typically 2-3 stools positioned at one end of the island, allowing seated family members to face both the cook and each other. This arrangement facilitates natural conversation while keeping everyone connected to the cooking process. We’ve found that L-shaped islands work particularly well for this purpose, providing ample prep space while creating an intimate seating area that doesn’t dominate the kitchen.
In Cambridge, where many of our clients live in smaller condos, we often recommend peninsula configurations instead of traditional islands. Peninsulas provide similar functionality while maintaining better connection between the cooking and seating areas. They also require less floor space, making them ideal for the compact kitchens common in the area’s converted brownstones and triple-deckers.
3. Storage Optimization: Making Every Inch Count

4. The Boston-Specific Considerations: Working with Historic Architecture
Renovating kitchens in Boston’s historic homes presents unique challenges that significantly impact island design. Many of our projects involve homes built between 1880 and 1930, when kitchens were small, separate rooms designed for efficiency rather than socializing. Converting these spaces to accommodate modern open-concept living requires careful consideration of structural elements, mechanical systems, and architectural character.
In Back Bay brownstones, for example, we frequently encounter situations where the ideal island placement conflicts with existing radiator locations or structural columns. Rather than fighting these elements, we’ve learned to incorporate them into our designs. We’ve created islands that wrap around columns, turning potential obstacles into design features. Similarly, we’ve designed islands with built-in radiator covers that maintain heating efficiency while creating additional counter space.
The narrow lot sizes common throughout Boston also influence our island recommendations. In many cases, we find that galley-style kitchens with well-designed peninsulas provide better functionality than cramped spaces with oversized islands. We always conduct detailed measurements and create scaled floor plans that allow clients to visualize traffic patterns before finalizing island dimensions.
Ready to Design an Island That Actually Works?
If you’re considering adding an island to your Boston-area kitchen, let Golden Hammer Remodeling help you create a design that enhances rather than hinders your daily routine. Contact us today for a consultation that takes into account your family’s specific needs, your home’s architectural constraints, and your neighborhood’s unique characteristics.
Frequently Asked Questions (FAQ)
1. What's the minimum kitchen size needed for an island?
2. Can islands work in galley-style kitchens?
3. How much should I budget for a custom island?
4. Should my island match my existing cabinets?
5. Can I add an island to my existing kitchen without a full renovation?
6. What's the best countertop material for islands?
7. How do I know if my floor can support an island?
Blog
Looking for more insights? Explore our blog for expert tips, in-depth guides, and the latest trends.
Keep discovering more content to help you stay ahead!